Learning how to use wall anchors is one of the most useful DIY skills any homeowner can pick up. Whether you’re hanging a shelf, curtain rod, or heavy mirror, using the right anchors, the right way, can mean the difference between a secure install and a destroyed wall.
In this guide, I’ll walk you through the different types of wall anchors, how to install them correctly, and how to avoid the most common beginner mistakes.
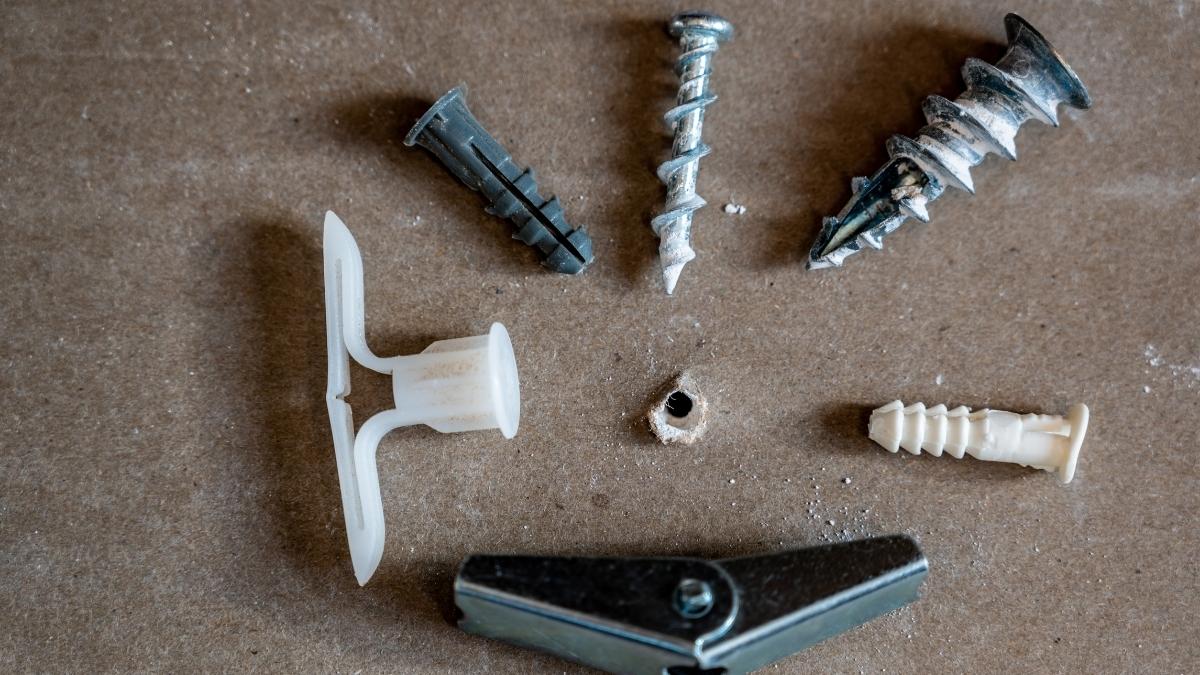
What Are Wall Anchors?
Wall anchors are small fasteners that grip inside drywall, plaster, or masonry to hold a screw in place. They’re used when there’s no stud available, or when you need more holding strength than drywall alone can provide.
Types of Wall Anchors and When to Use Them
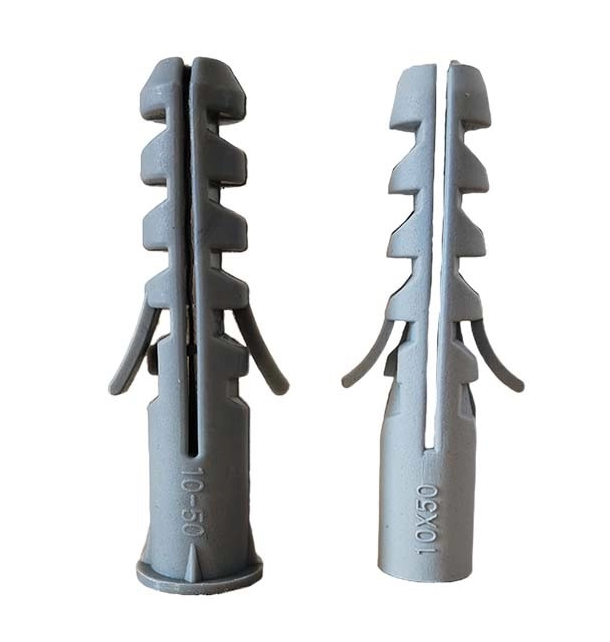
🔸 Plastic Expansion Anchors
Great for lightweight items like clocks or small picture frames.
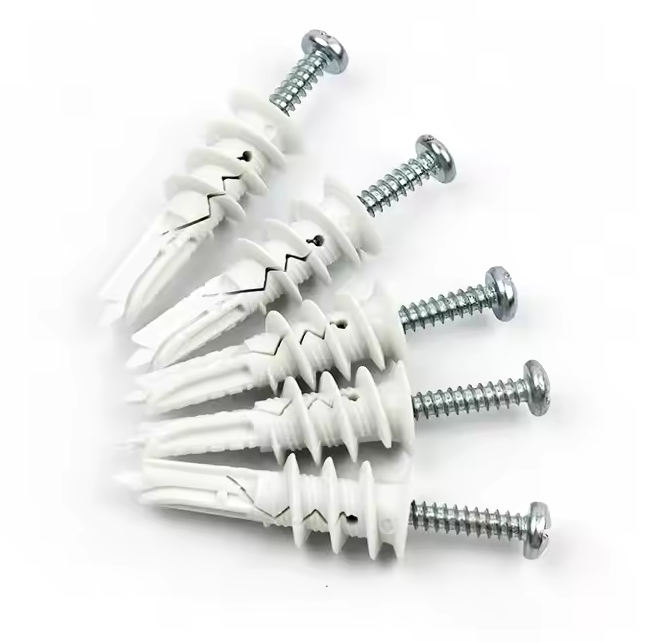
🔸 Self-Drilling Anchors
These twist directly into drywall and are ideal for medium-weight shelves or towel racks.
I get a 25 pack of Qualihome Self-Drilling Anchors to hang anything heavier than a picture frame and it lasts me a good while.
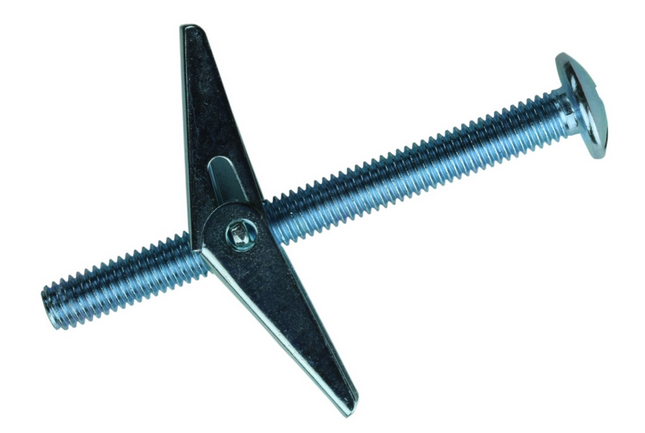
🔸 Toggle Bolts
The strongest option. Use these for heavy-duty tasks like hanging a TV, cabinet, or wall-mounted shelf.
I use TOGGLER Snaptoggle Anchors for hanging really heavy pictures or wall mirrors
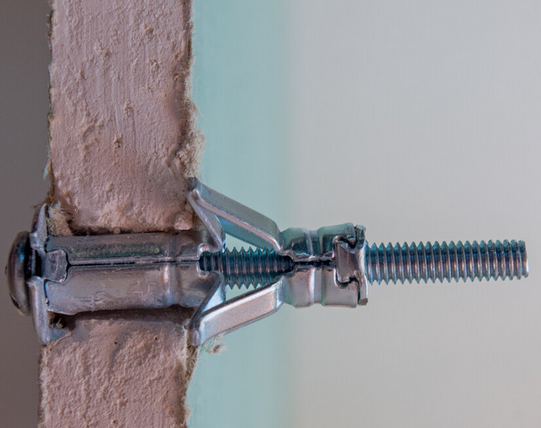
🔸 Molly Bolts
A secure option for medium-weight projects. These expand behind the wall for added strength.
Tools You’ll Need
- Cordless drill
- Drill bit set
- Screwdriver
- Pencil
- Level
- Stud finder
- Tape measure
Each of these is a solution for homeowners learning how to use wall anchors the right way.
Related: Check out my starter toolkit
Step-by-Step: How to Use Wall Anchors
Here’s how to use wall anchors in 6 simple steps.
🔹 Step 1: Choose the Right Anchor
Pick an anchor rated for the weight of your item and the wall material. Always read the packaging.
🔹 Step 2: Mark Your Spot
Use a pencil to mark where the screw will go. Use a level for accuracy if you’re mounting something wide.
🔹 Step 3: Drill a Pilot Hole
For expansion or toggle anchors, use a drill bit slightly smaller than the anchor body.
🔹 Step 4: Insert the Anchor
Push or tap the anchor into the hole. Some may twist in with a screwdriver. It should sit flush with the wall.
🔹 Step 5: Insert the Screw
Use a drill or screwdriver to drive the screw into the anchor. Tighten it until snug, but don’t overtighten.
🔹 Step 6: Test the Mount
Give it a firm tug. If it wobbles, something’s off, check the anchor’s grip and make sure you used the right size.
What Can Go Wrong (And How to Fix It)
- The anchor spins in the hole: Hole too big, try a larger anchor.
- Screw won’t tighten: You may have used the wrong type or skipped the pilot hole.
- Anchor pulls out: Wall too soft, or the load is too heavy. Use toggle bolts or find a stud.
- Wall cracks: Go slower. Use painter’s tape to mark your drill zone and reduce blowout.
If you need a more detailed guide on which anchor to choose, this guide from Fine Woodworking breaks down everything.
Bonus Tips for a Clean Install
- Scan for studs before committing to anchors
- Don’t rely on just one anchor for shelves, use at least two
- Use a spacer or template when installing multiple anchors in a row
- If using a drill, go very slow so you don’t damage the mechanism behind the wall
Now that you know how to use wall anchors correctly, you’re ready to hang shelves, mirrors, or even brackets.
Related DIY Posts
Want to know the 3 tools I’d buy first (and still use)? Check out this guide